
Creating a new editor module
The following recipes all interact with editor mode-specific code and engine modules. As a result, it is considered good practice to create a new module that will only be loaded when the engine is running in editor mode, so that we can place all our editor-only code inside it.
How to do it…
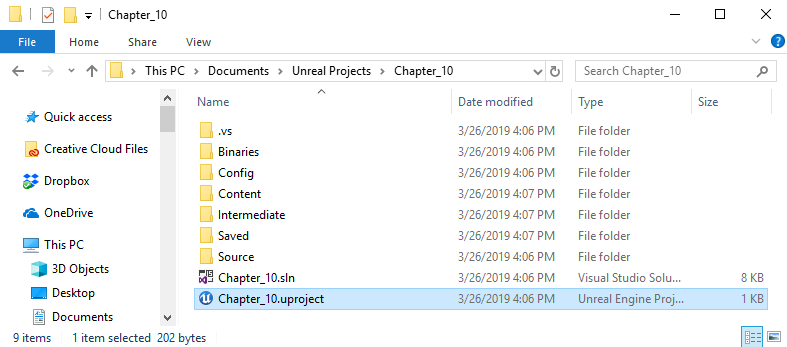
- Open your project’s .uproject file in a text editor such as Notepad or Notepad++. You can find the file inside your project folder, and it should look similar to what’s shown in the following screenshot:
- Add the bold section of text in the following snippet to the file:
{
  "FileVersion": 3,
  "EngineAssociation": "4.21",
  "Category": "",
  "Description": "",
  "Modules": [
    {
      "Name": "Chapter_10",
      "Type": "Runtime",
      "LoadingPhase": "Default"
    },
      {
          "Name": "Chapter_10Editor",
          "Type": "Editor",
          "LoadingPhase": "PostEngineInit",
          "AdditionalDependencies": [
            "Engine",
            "CoreUObject"
          ]
      }
  ]
}
Note the comma after the first module before the second set of curly braces.
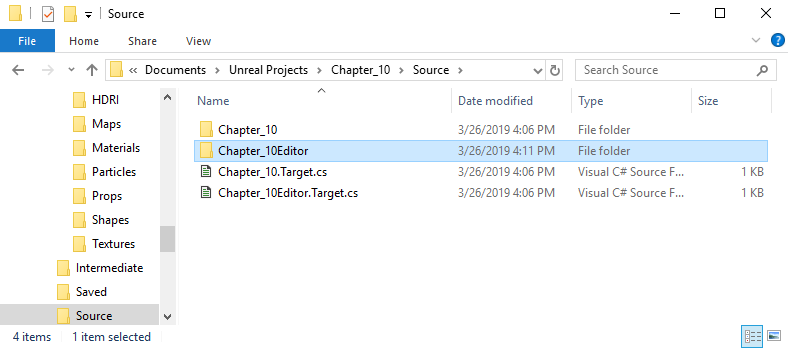
- In your Source folder, create a new folder using the same name as you specified in your uproject file (in this instance, “Chapter_10Editor”):
- Open up the Chapter_10Editor.Target.cs file and update it to the following:
using UnrealBuildTool;
using System.Collections.Generic;

public class Chapter_10EditorTarget : TargetRules
{
  public Chapter_10EditorTarget(TargetInfo Target) : base(Target)
  {
    Type = TargetType.Editor;

    ExtraModuleNames.AddRange( new string[] { "Chapter_10Editor" } );
  }
}
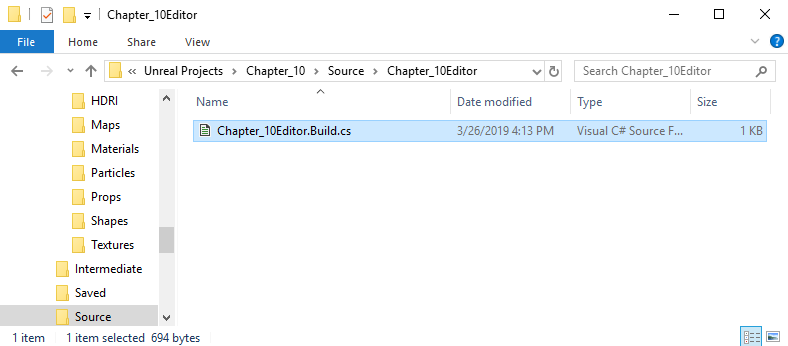
- Inside this new folder, create a blank .txt file and rename it to Chapter_10Editor.Build.cs:
- Insert the following into the file:
using UnrealBuildTool;

public class Chapter_10Editor : ModuleRules
{
    public Chapter_10Editor(ReadOnlyTargetRules Target) :
    base(Target)
    {
        PCHUsage = PCHUsageMode.UseExplicitOrSharedPCHs;

        PublicDependencyModuleNames.AddRange(new string[] { "Core",
        "CoreUObject", "Engine", "InputCore", "RHI", "RenderCore",
        "ShaderCore", "MainFrame", "AssetTools", "AppFramework",
        "PropertyEditor"});

       PublicDependencyModuleNames.Add("Chapter_10");

        PrivateDependencyModuleNames.AddRange(new string[] {
        "UnrealEd", "Slate", "SlateCore", "EditorStyle",
        "GraphEditor", "BlueprintGraph" });

    }
}
- Still inside of the Chapter10_Editor folder, create a new file called Chapter_10Editor.h and add the following:
#pragma once

#include "Engine.h"
#include "Modules/ModuleInterface.h"
#include "Modules/ModuleManager.h"
#include "UnrealEd.h"


class FChapter_10EditorModule: public IModuleInterface
{
};
- Lastly, create a new source file called Chapter_10Editor.cpp.
- Add the following code:
#include "Chapter_10Editor.h"
#include "Modules/ModuleManager.h"
#include "Modules/ModuleInterface.h"

IMPLEMENT_GAME_MODULE(FChapter_10EditorModule, Chapter_10Editor)
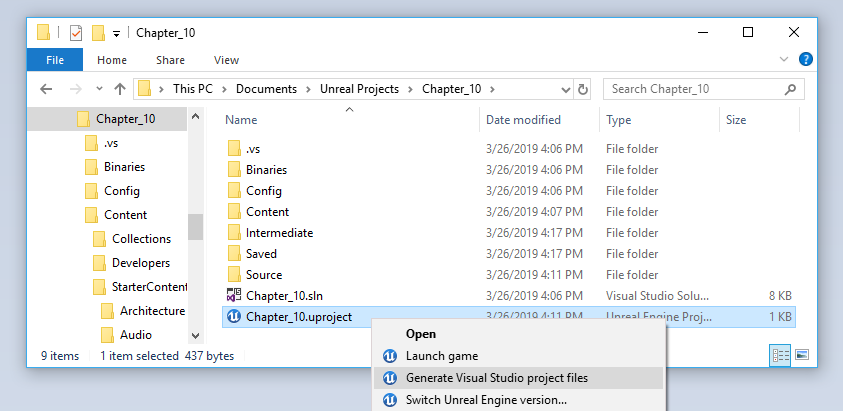
- Finally, close Visual Studio if you have it open. Then, right-click on the .uproject file and select Generate Visual Studio Project files:
- You should see a small window launch, display a progress bar, and then close:

- You can now launch Visual Studio, verify that your new module is visible in the IDE, and compile your project successfully:
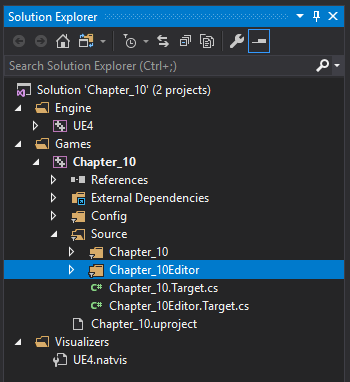
- The module is now ready for the next set of recipes.
Code changes made in this editor module won’t support hot-reloading in the same way that code in runtime modules does. If you get a compilation error that mentions changes to generated header files, simply close the editor and rebuild it from within your IDE instead.
How it works…
Unreal projects use the .uproject file format to specify a number of different pieces of information about the project.
This information is used to inform the Header and Build tools about the modules that comprise this project, and is used for code generation and makefile creation.
The file uses JSON-style formatting.
These include the following:
- The engine version that the project should be opened in
- A list of modules that are used in the project
- A list of module declarations
Each of these module declarations contain the following:
- The name of the module.
- The type of module—is it an editor module (only runs in editor builds, has access to editor-only classes) or a runtime module (runs in both editor and Shipping builds)?
- The loading phase of the module—modules can be loaded at different points during program startup. This value specifies the point at which the module should be loaded, for example, if there are dependencies in other modules that should be loaded first.
- A list of dependencies for the module. These are essential modules that contain exported functions or classes that the module relies on.
We added a new module to the uproject file. The module’s name is Chapter_10Editor (Conventionally, Editor should be appended to the main game module for an editor module).
This module is marked as an editor module, and is set to load after the baseline engine so that it can use the classes that have been declared in Engine code.
Our module’s dependencies are left at the default values for now.
With the uproject file altered to contain our new module, we need a build script for it.
Build scripts are written in C#, and take the name <ModuleName>.Build.cs.
C#, unlike C++, doesn’t use a separate header file and implementation – it’s all there in the one .cs file.
We want to access the classes that have been declared in the UnrealBuildTool module, so we include a using statement to indicate that we want to access that namespace.
We create a public class with the same name as our module, which inherits from ModuleRules.
Inside our constructor, we add a number of modules to the dependencies of this module. There are both private dependencies and public dependencies.
According to the code of the ModuleRules class, public dependencies are modules that your module’s public header files depend on. Private dependencies are modules that the private code depends on. Anything used in both public headers and private code should go into the PublicDependencyModuleNames array.
You’ll note that our PublicDependencyModuleNames array contains our main game module. This is because some recipes in this chapter will extend the editor to better support the classes that are defined within our main game module.
Now that we’ve told the build system that we have a new module to build through the project file, and we’ve specified how to build the module with the build script, we need to create the C++ class that is our actual module.
We create a header file that includes the Engine header, the ModuleManager header, and the UnrealEd header.
We include ModuleManager because it defines IModuleInterface, the class that our module will inherit from.
We also include UnrealEd because we’re writing an editor module that will need to access the editor functionality.
The class we declare inherits from IModuleInterface, and takes its name from the usual prefix, F, followed by the module name.
Inside the .cpp file, we include our module’s header, and then use the IMPLEMENT_GAME_MODULE macro.
IMPLEMENT_GAME_MODULE declares an exported C function, InitializeModule(), which returns an instance of our new module class.
This means that Unreal can simply call InitializeModule() on any library that exports it to retrieve a reference to the actual module implementation without needing to know what class it is.
Having added our new module, we now need to rebuild our Visual Studio solution, so we close Visual Studio and then regenerate the project files using the context menu.
With the project rebuilt, the new module will be visible in Visual Studio, and we can add code to it as usual.
Post Link: Creating a new editor module