5. Physics and Raycasting-2
Now you need the trace to end at a specified length where the Camera is looking. To do that, drag a wire from Follow Camera, and search for and select GetWorldRotation, which represents the world rotation of the Camera Component. To find the direction, drag a wire from the GetWorldRotation blue output, and search for and select GetForwardVector.
The GetForwardVector node represents the direction, but it returns a unit vector, which means it is in the 0–1 range and is not useful in our context (https://en.wikipedia.org/wiki/Rotation_matrix). So you multiply it by a higher number to determine how far the trace should go.
Drag a wire from the GetForwardVector node’s yellow output, search for multiply and select the vector * float node. After selecting this node, enter 5000 in the green box of the newly created multiply node. The 5000 is the length of our trace. Connect the multiply node output to the End input of the Line Trace node.Next, click the Visibility drop-down button on the Line Trace node and change it to MyItemTrace (see Figure 5-14).

You are not completely done, but you did finish the trace setup. If you play the game now and press E (or the key you used for Trace), it might appear that nothing is happening, but you are tracing. To check this, click the None drop-down button at Draw Debug Type and change it to For Duration. Press the Play button again and start the tracing. You now see a red line originating from your Camera that shoots toward where you are looking.
Even though you finished the trace, you are still not using any information from the hit result. Let’s fix that. Drag a pin from the red Return Value of the Line Trace, search, and select Branch node. The return value is a boolean (either true or false). It is true if the hit is successful (if it hits any object with MyItemTrace, trace response is blocking; in our case, it is the Blueprint actor we created). It is false if the trace didn’t hit anything. Drag another wire from the Out Hit node and select Break Hit Result. The resulting node is called a Struct node, which is a container containing other data types.In the Break Hit Result node, click the downward arrow to expand the node and show all the advanced types. Right-click the event graph, and search for and select Print String, which is a simple node that prints a message to the screen. Drag a wire from Hit Actor and connect it to In String of Print String. This automatically creates a new node between Print String and the Struct node. Finally, connect the Branch node with Print String, and you have a complete setup (see Figure 5-15).

Since you need the trace to react, you must place the Blueprint you created. Drag and drop the Blueprint from the Content Browser to the game world. Now press Play and look at the item placed in the world. Press your Trace input key. You see a red trace line (if you set the Draw Debug Type to For Duration or Persistent) hitting the item and a message printed on the screen (see Figure 5-16).

Destruction Using Physics
In this section, you use the Apex destruction plugin to create a destructible mesh and interact with it in the game. When writing this book, Unreal Engine was making the transition from Physx to Chaos Physics System, rendering this section obsolete in the future. I don’t cover Chaos because it is not production-ready and requires the GitHub source version instead of the launcher version.To create a destructible mesh, you first need to enable the Apex plugin from the Plugins section. Click the Edit button in the menu bar and select Plugins. Go to the Physics category and enable Apex Destruction Plugin. Restart the Editor (see Figure 5-17).

After the restart, you can right-click any Static Mesh actor (or 1M_Cube in our case) in the Content Browser and select Create Destructible Mesh. A new Destructible Editor opens and a new Destructible Editor actor is available next to the static mesh. Let’s go through the basics of Destructible Mesh Editor in Figure 5-18.

- Fracture Mesh (area 1 in Figure 5-18) fractures the mesh into multiple chunks. The number of chunks is based on the Cell Site Count under the Voronoi section (bottom-right corner).
- Preview Depth 0 (area 2 in Figure 5-18) is the chunk depth.
- Explode Amount (area 3 in Figure 5-18) is a slider that moves the fractured pieces apart.
- Destructible Settings (area 4 in Figure 5-18) is the panel where you adjust various destructible settings.
- Fracture settings (area 5 in Figure 5-18) is the area where you decide the number of chunks to generate.
First, set the Cell Site Count to 100 and press the Fracture Mesh button. This breaks the mesh into 100 different chunk pieces (see Figure 5-19).

Go back to the Content Browser and drag the newly created Destructible Mesh actor (1M_Cube_DM) to the game world. If you press the Play button now, nothing happens because the destructible mesh is not simulating physics. To fix it, select the Destructible actor in the viewport, and in the Details panel, enable Simulate Physics (see Figure 5-20).

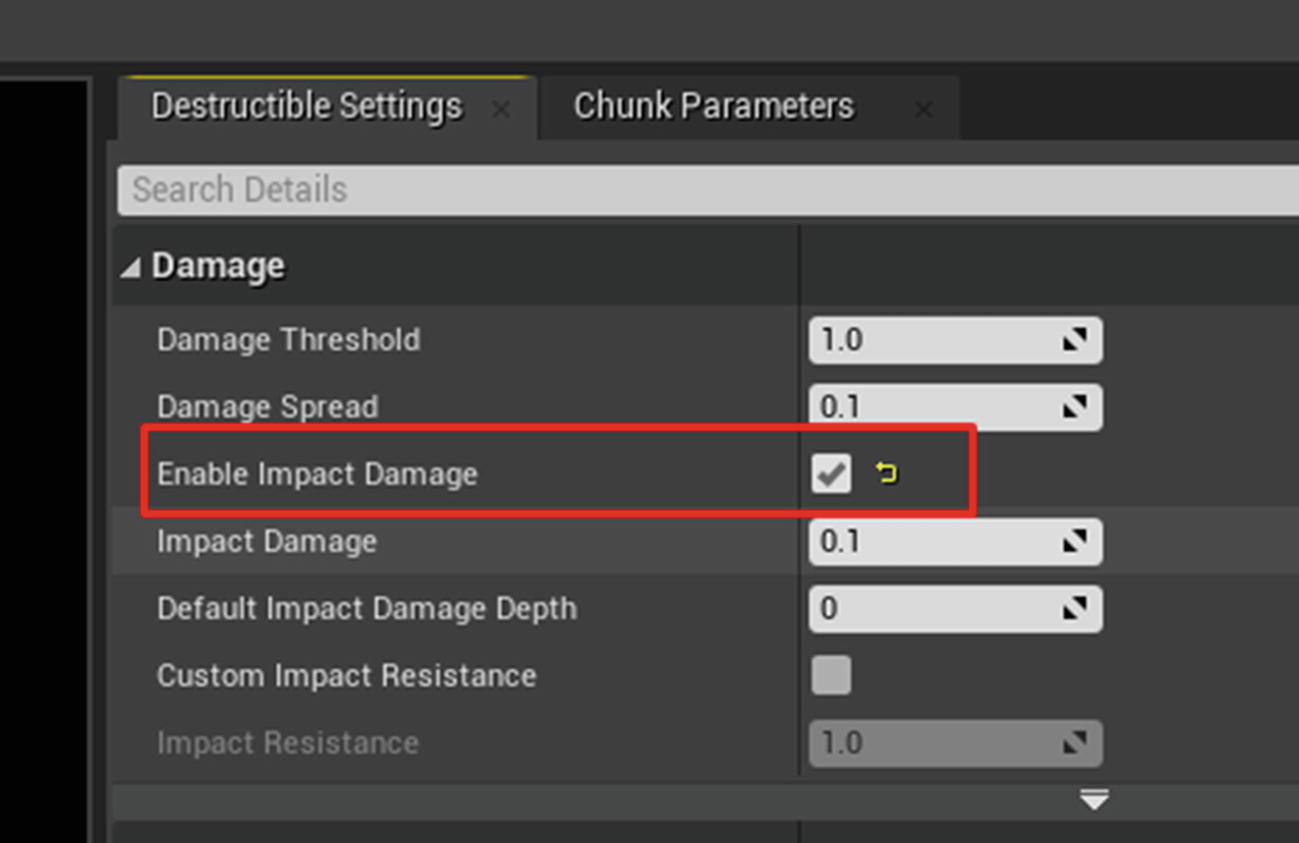
Now, if you press Play, you see the destructible mesh falling and hitting the ground, but there is no destruction. Why? This is destructible mesh, but there is no destruction, right? Well, this is because you haven’t enabled damage to destruction mesh yet. So how do you do that? Open the Destructible Mesh actor and turn on Enable Impact Damage (see Figure 5-21).

Go back to your game world and press Play. Watch how the mesh falls and breaks into pieces (see Figure 5-22).

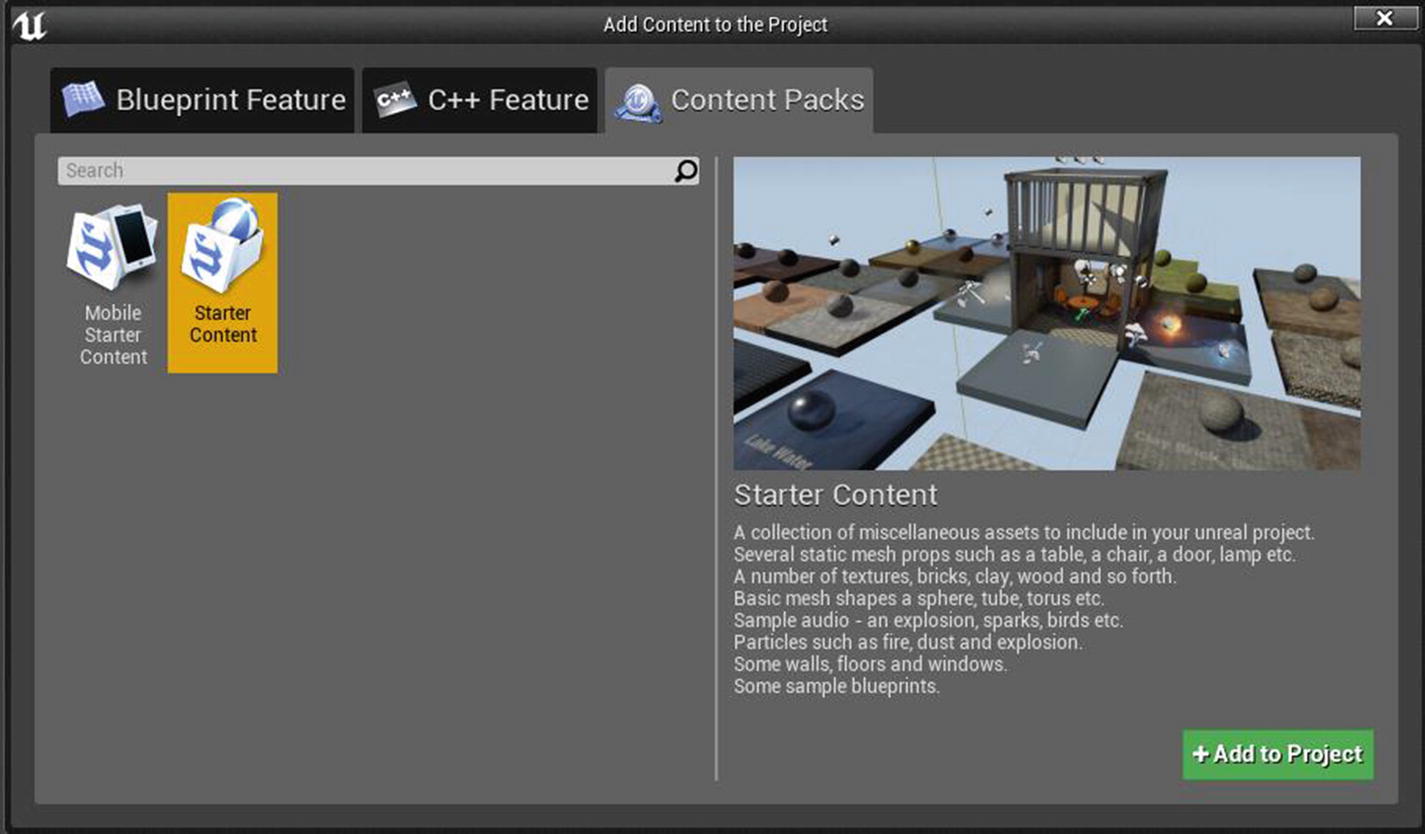
Let’s spice this up a little bit by applying a particle effect when the mesh breaks. For the particle system, add the Starter Content pack if not added yet. To add starter content, click the Add New button in the Content Browser and select the first Add Feature or Content Pack. In the next dialog window, switch to the Content Packs tab, select Starter Content, and click +Add to Project (see Figure 5-23).

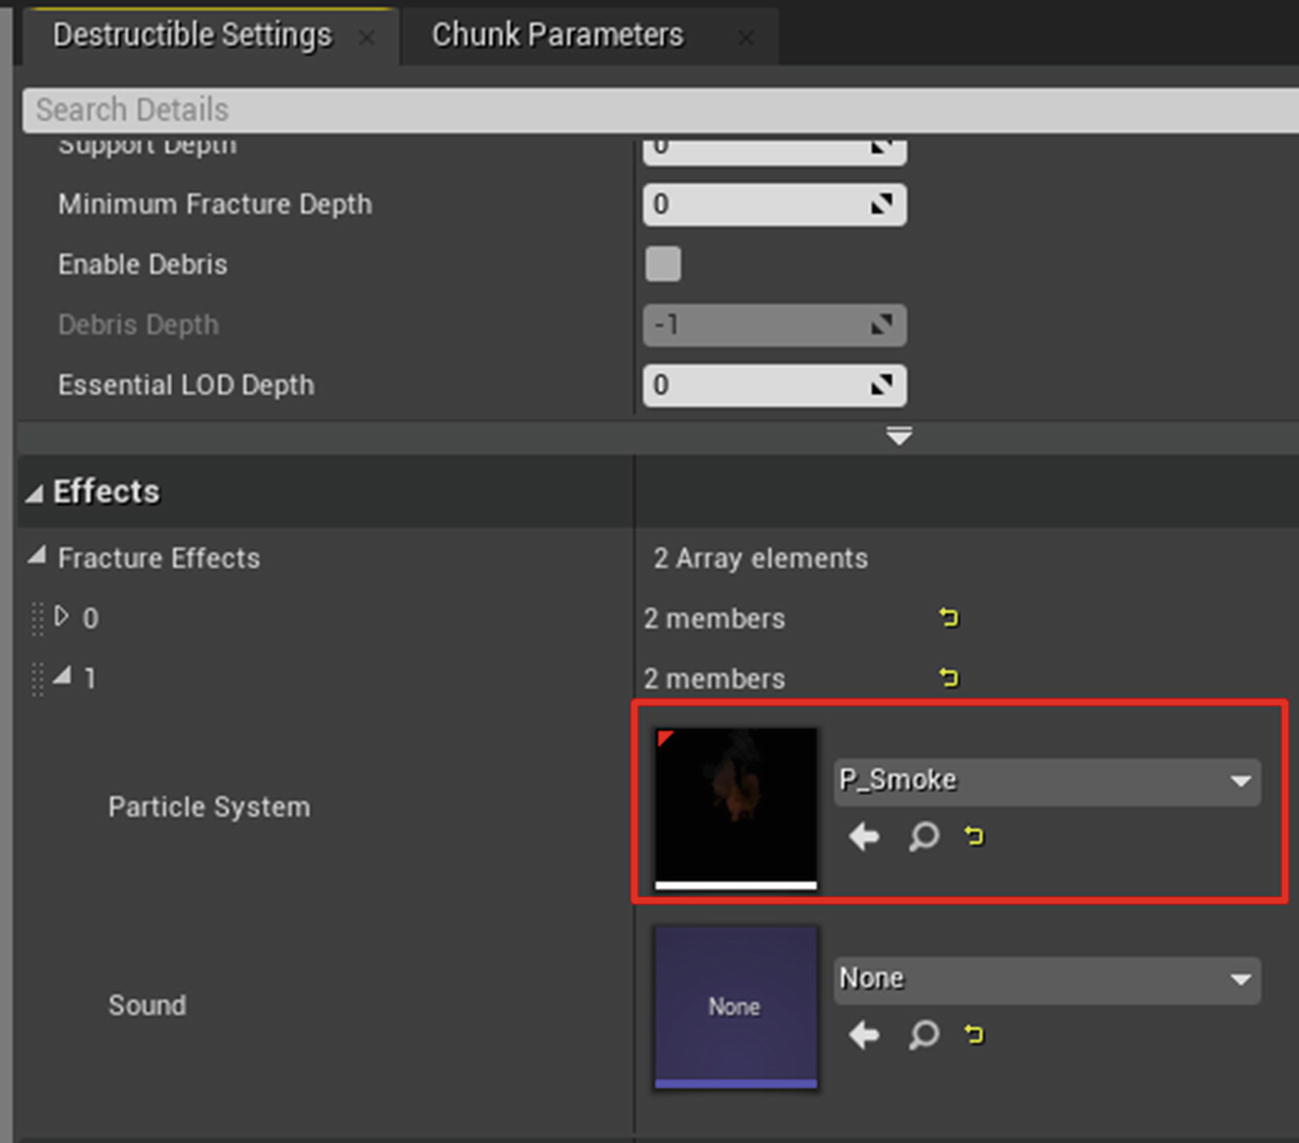
After the Starter Content is added, open the 1M_Cube_DM, and in the Destruction Settings Details panel under the Effects category, expand Fracture Settings. Here you see two numbers: 0 and 1. Expand 1 and assign P_Smoke (which is the particle from Starter Content) (see Figure 5-24).

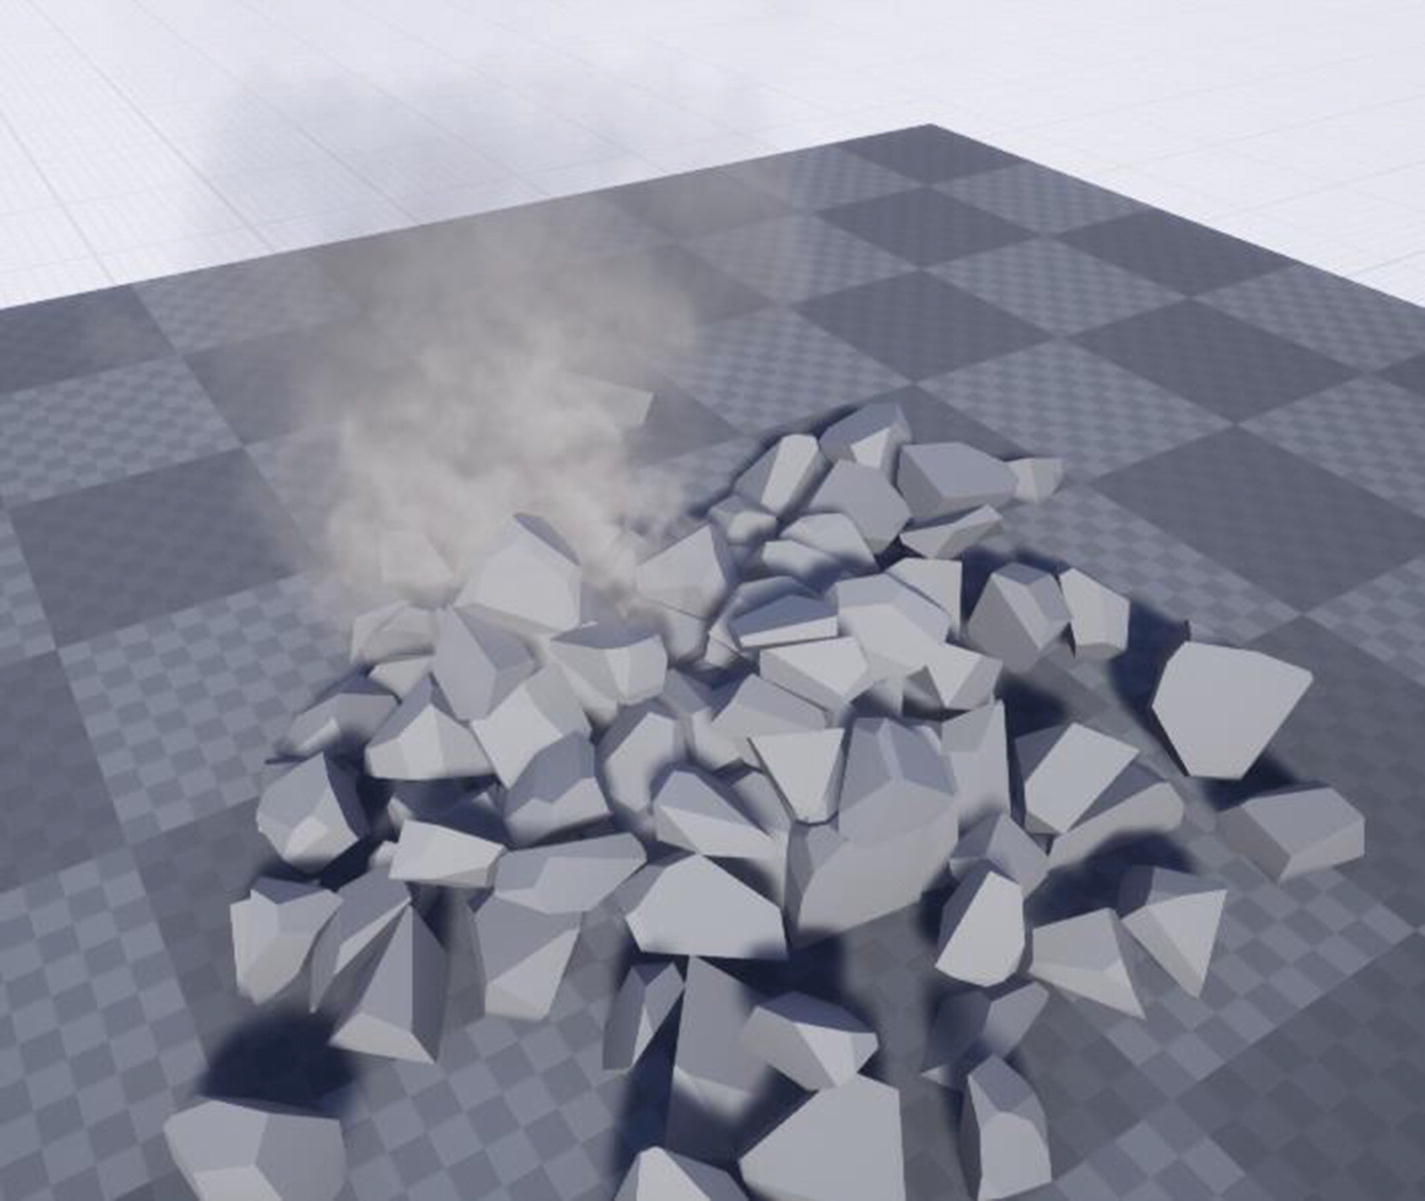
If you play now, when the object falls and breaks, you see the particle effect playing at the fracture location (see Figure 5-25).

Post Link: 5. Physics and Raycasting-2
