
Using Data Binding with Unreal Motion Graphics
So far, we’ve been assigning static values to the attributes of our UI widgets. However, what if we want to be more dynamic with widget content, or parameters such as border color? We can use a principle called data binding to dynamically link properties of our UI with variables in the broader program.
Unreal uses the Attribute system to allow us to bind the value of an attribute to the return value from a function, for example. This means that changing those variables will automatically cause the UI to change in response, according to our wishes.
How to do it…
- Create a new GameModeBase subclass called AttributeGameMode.
- Update the AttributeGameMode.h file to the following:
#pragma once

#include "CoreMinimal.h"
#include "GameFramework/GameStateBase.h"
#include "SlateBasics.h"
#include "AttributeGameMode.generated.h"

/**
 *
 */
UCLASS()
class CHAPTER_14_API AAttributeGameMode : public AGameModeBase
{
 GENERATED_BODY()

 TSharedPtr<SVerticalBox> Widget;
 FText GetButtonLabel() const;

public:
 virtual void BeginPlay() override;

};- Add the implementation for BeginPlay within the .cpp file:
void AAttributeGameMode::BeginPlay()
{
    Super::BeginPlay();

    Widget = SNew(SVerticalBox)
        + SVerticalBox::Slot()
        .HAlign(HAlign_Center)
        .VAlign(VAlign_Center)
        [
            SNew(SButton)
            .Content()
        [
            SNew(STextBlock)
            .Text(TAttribute<FText>::Create(TAttribute<FText>::FGetter::CreateUObject(this, &AAttributeGameMode::GetButtonLabel)))
        ]
        ];
    GEngine->GameViewport->AddViewportWidgetForPlayer(GetWorld()->GetFirstLocalPlayerFromController(), Widget.ToSharedRef(), 1);

}- Also, add an implementation for GetButtonLabel():
FText AAttributeGameMode::GetButtonLabel() const
{
    FVector ActorLocation = GetWorld()->GetFirstPlayerController()->GetPawn()->GetActorLocation();
    return FText::FromString(FString::Printf(TEXT("%f, %f, %f"), ActorLocation.X, ActorLocation.Y, ActorLocation.Z));
}- Compile your code and launch the editor.
- Override the game mode in World Settings to be AAttributeGameMode.
- Note that, in a Play In Editor session, the value on the UI’s button changes as the player moves around the scene:

How it works…
Just like almost all the other recipes in this chapter, the first thing we need to do is create a game mode as a convenient host for our UI. We create the UI in the same fashion as in the other recipes, that is, by placing Slate code inside the BeginPlay() method of our game mode.
The interesting feature of this recipe concerns how we set the value of our button’s label text:
.Text(
 TAttribute<FText>::Create(TAttribute<FText>::FGetter::Creat
 eUObject(this, &AAttributeGameMode::GetButtonLabel)))
The preceding syntax is unusually verbose, but what it is actually doing is comparatively simple. We assign something to the Text property, which is of the type FText. We can assign TAttribute<FText> to this property, and the TAttribute Get() method will be called whenever the UI wants to ensure that the value of Text is up to date.
To create TAttribute, we need to call the static TAttribute<VariableType>::Create() method. This function expects a delegate of some description. Depending on the type of delegate that’s passed to TAttribute::Create, TAttribute::Get() invokes a different type of function to retrieve the actual value.
In the code for this recipe, we invoke a member function of UObject. This means that we know we will be calling the CreateUObject function on some delegate type.We can use CreateLambda, CreateStatic, or CreateRaw to invoke a lambda, a static, or a member function on a raw C++ class, respectively. This will give us the current value for the attribute.
But what delegate type do we want to create an instance of? Because we’re templating the TAttribute class on the actual variable type that the attribute will be associated with, we need a delegate that is also templated on the variable type as its return value.
That is to say, if we have TAttribute<FText>, the delegate that’s connected to it needs to return an FText.
We have the following code within TAttribute:
template<typenameObjectType>
 classTAttribute
 {
 public:
 /**
 * Attribute 'getter' delegate
 *
 * ObjectTypeGetValue() const
 *
 * @return The attribute's value
 */
 DECLARE_DELEGATE_RetVal(ObjectType, FGetter);
 (...)
 }
The FGetter delegate type is declared inside the TAttribute class, so its return value can be templated on the ObjectType parameter of the TAttribute template. This means that TAttribute<Typename>::FGetter automatically defines a delegate with the correct return type of Typename. So, we need to create a UObject-bound delegate of type and signature for TAttribute<FText>::FGetter.
Once we have that delegate, we can call TAttribute::Create on the delegate to link the delegate’s return value to our TextBlock member variable Text. With our UI defined and a binding between the Text property, a TAttribute<FText>, and a delegate returning FText, we can now add the UI to the player’s screen so that it’s visible.
Every frame, the game engine checks all of the properties to see if they are linked to TAttributes. If there’s a connection, then the TAttributeGet() function is called, invoking the delegate and returning the delegate’s return value so that Slate can store it inside the widget’s corresponding member variable.
For our demonstration of this process, GetButtonLabel retrieves the location of the first player pawn in the game world. We then use FString::Printf to format the location data into a human readable string, and wrap that in an FText so that it can be stored as the TextBlock text value.
Controlling widget appearance with Styles
So far in this chapter, we’ve been creating UI elements that use the default visual representation. This recipe shows you how to create a Style in C++ that can be used as a common look and feel across your whole project.
How to do it…
- Create a new class for your project by using the Add C++ Class wizard and selecting None as your parent class:

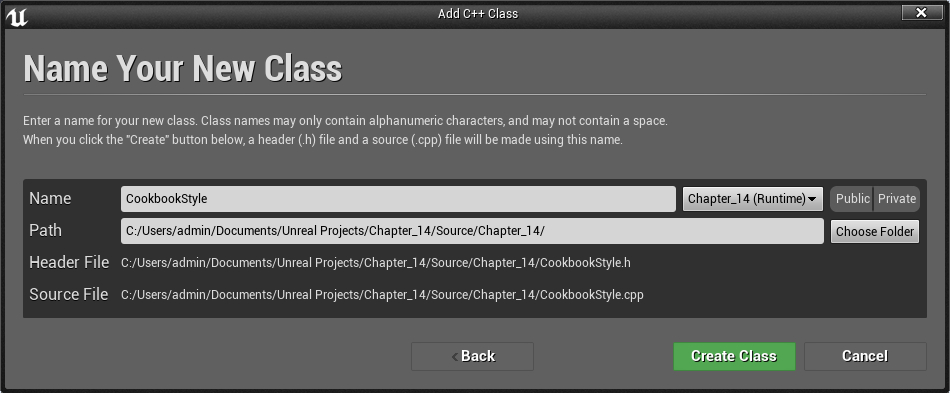
- Under the name option, use CookbookStyle and click on the Create Class button:
- Replace the code in the CookbookStyle.h file with the following code:
#pragma once
#include "SlateBasics.h"
#include "SlateExtras.h"

class FCookbookStyle
{
public:
    static void Initialize();
    static void Shutdown();
    static void ReloadTextures();
    static const ISlateStyle& Get();
    static FName GetStyleSetName();

private:
    static TSharedRef< class FSlateStyleSet > Create();
private:
    static TSharedPtr< class FSlateStyleSet > CookbookStyleInstance;
};- Open the CookbookStyle.cpp file and use the following code for it:
#include "CookbookStyle.h"
#include "SlateGameResources.h"

TSharedPtr< FSlateStyleSet > FCookbookStyle::CookbookStyleInstance = NULL;

void FCookbookStyle::Initialize()
{
    if (!CookbookStyleInstance.IsValid())
    {
        CookbookStyleInstance = Create();
    FSlateStyleRegistry::RegisterSlateStyle(*CookbookStyleInstance);
    }
}

void FCookbookStyle::Shutdown()
{
    FSlateStyleRegistry::UnRegisterSlateStyle(*CookbookStyleInstance);
    ensure(CookbookStyleInstance.IsUnique());
    CookbookStyleInstance.Reset();
}

FName FCookbookStyle::GetStyleSetName()
{
    static FName StyleSetName(TEXT("CookbookStyle"));
    return StyleSetName;
}
- Add the following content below the previously created script in the CookbookStyle.cpp file to describe how to draw the screen:
#define IMAGE_BRUSH( RelativePath, ... ) FSlateImageBrush( FPaths::GameContentDir() / "Slate"/ RelativePath + TEXT(".png"), __VA_ARGS__ )
#define BOX_BRUSH( RelativePath, ... ) FSlateBoxBrush( FPaths::GameContentDir() / "Slate"/ RelativePath + TEXT(".png"), __VA_ARGS__ )
#define BORDER_BRUSH( RelativePath, ... ) FSlateBorderBrush( FPaths::GameContentDir() / "Slate"/ RelativePath + TEXT(".png"), __VA_ARGS__ )
#define TTF_FONT( RelativePath, ... ) FSlateFontInfo( FPaths::GameContentDir() / "Slate"/ RelativePath + TEXT(".ttf"), __VA_ARGS__ )
#define OTF_FONT( RelativePath, ... ) FSlateFontInfo( FPaths::GameContentDir() / "Slate"/ RelativePath + TEXT(".otf"), __VA_ARGS__ )

TSharedRef< FSlateStyleSet > FCookbookStyle::Create()
{
    TSharedRef<FSlateStyleSet> StyleRef = FSlateGameResources::New(FCookbookStyle::GetStyleSetName(), "/Game/Slate", "/Game/Slate");
    FSlateStyleSet& Style = StyleRef.Get();

    Style.Set("NormalButtonBrush",
        FButtonStyle().
        SetNormal(BOX_BRUSH("Button", FVector2D(54, 54), FMargin(14.0f / 54.0f))));
    Style.Set("NormalButtonText",
        FTextBlockStyle(FTextBlockStyle::GetDefault())
        .SetColorAndOpacity(FSlateColor(FLinearColor(1, 1, 1, 1))));
    return StyleRef;
}

#undef IMAGE_BRUSH
#undef BOX_BRUSH
#undef BORDER_BRUSH
#undef TTF_FONT
#undef OTF_FONT

void FCookbookStyle::ReloadTextures()
{
    FSlateApplication::Get().GetRenderer()->ReloadTextureResources();
}

const ISlateStyle& FCookbookStyle::Get()
{
    return *CookbookStyleInstance;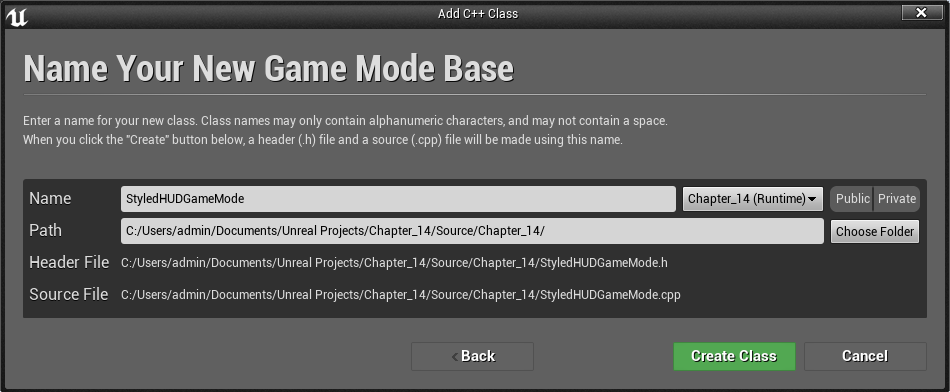
}- Create a new GameModeBase subclass, StyledHUDGameMode:
- Once Visual Studio opens, add the following code to its declaration:
#pragma once

#include "CoreMinimal.h"
#include "GameFramework/GameModeBase.h"
#include "SlateBasics.h"
#include "StyledHUDGameMode.generated.h"

/**
 *
 */
UCLASS()
class CHAPTER_14_API AStyledHUDGameMode : public AGameModeBase
{
    GENERATED_BODY()

    TSharedPtr<SVerticalBox> Widget;

public:
    virtual void BeginPlay() override;
};
- Likewise, implement GameMode:
#include "StyledHUDGameMode.h"
#include "CookbookStyle.h"

void AStyledHUDGameMode::BeginPlay()
{
    Super::BeginPlay();

    Widget = SNew(SVerticalBox)
        + SVerticalBox::Slot()
        .HAlign(HAlign_Center)
        .VAlign(VAlign_Center)
        [
            SNew(SButton)
            .ButtonStyle(FCookbookStyle::Get(), "NormalButtonBrush")
        .ContentPadding(FMargin(16))
        .Content()
        [
            SNew(STextBlock)
            .TextStyle(FCookbookStyle::Get(), "NormalButtonText")
        .Text(FText::FromString("Styled Button"))
        ]
        ];
    GEngine->GameViewport->AddViewportWidgetForPlayer(GetWorld()->GetFirstLocalPlayerFromController(), Widget.ToSharedRef(), 1);
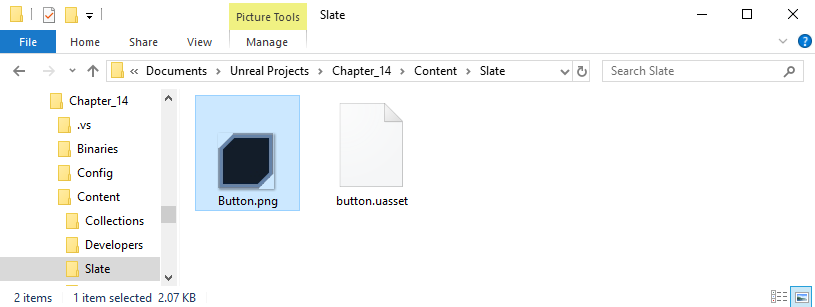
}- Lastly, create a 54 x 54 pixel PNG file with a border around it for our button:

- Save it to the Content | Slate folder with the name Button.png, creating the folder if needed:
- You may be asked if you’d like to import the image into your project. Go ahead and say yes.
- Finally, we need to set our game’s module to properly initialize the style when it is loaded. In your game module’s implementation file (Chapter_14.h), ensure it looks like this:
#pragma once

#include "CoreMinimal.h"
#include "CookbookStyle.h"

class Chapter_14Module : public FDefaultGameModuleImpl
{
    virtual void StartupModule() override
    {
        FCookbookStyle::Initialize();
    };
    virtual void ShutdownModule() override
    {
        FCookbookStyle::Shutdown();
    };
};- Then, go to the Chapter_14.cpp file and modify the code to the following:
#include "Chapter_14.h"
#include "Modules/ModuleManager.h"

IMPLEMENT_PRIMARY_GAME_MODULE(Chapter_14Module, Chapter_14, "Chapter_14" );
- Compile the code and set your game mode override to the new game mode, like we did in the other recipes in this chapter.
- When you play the game, you will see that your custom border is around the button, and that the text is white rather than black:

How it works…
For us to create styles that can be shared across multiple Slate widgets, we need to create an object to contain the styles and keep them in scope.
Epic provides the FSlateStyleSet class for this purpose. FSlateStyleSet contains a number of styles that we can access within Slate’s declarative syntax to skin widgets.
However, it’s inefficient to have multiple copies of our StyleSet object scattered through the program. We really only need one of these objects.
Because FSlateStyleSet itself is not a singleton, that is, an object that can only have one instance, we need to create a class that will manage our StyleSet object and ensure that we only have the single instance.
This is the reason we have the FCookbookStyle class. It contains an Initialize() function, which we will call in our module’s startup code. In the Initialize() function, we check if we have an instance of our StyleSet. If we do not have a valid instance, we call the private Create() function to instantiate one.
We then register the style with the FSlateStyleRegistry class.
When our module is unloaded, we will need to reverse this registration process, then erase the pointer so that it doesn’t dangle.
We now have an instance of our class that was created during module initialization by calling Create(). You’ll notice that Create is wrapped by a number of macros that all have a similar form. These macros are defined before the function, and undefined after it.
These macros make it easier for us to simplify the code that’s required within the Create function by eliminating the need to specify a path and extension for all the image resources that our Style might want to use.
Within the Create function, we create a new FSlateStyleSet object using the FSlateGameResources::New() function. New() needs a name for the style, and the folder paths that we want to search for in this Style Set.
This allows us to declare multiple Style Sets that are pointing to different directories, but using the same names for the images. It also allows us to skin or restyle the whole UI simply by switching to a Style Set in one of the other base directories.
New() returns a shared reference object, so we retrieve the actual FStyleSet instance using the Get() function.
With this reference in hand, we can create the styles we want this set to contain. To add styles to a set, we use the Set() method. Set expects the name of the style, and then a style object. Style objects can be customized using the builder pattern.
We first add a style called “NormalButtonBrush”. The name can be arbitrary. Because we want to use this style to change the appearance of buttons, we need to use FButtonStyle for the second parameter.
To customize the style to our requirements, we use the Slate builder syntax, chaining whatever method calls that we need to set properties on our style.
For the first style in this set, we just change the visual appearance of the button when it isn’t being clicked or is in a non-default state. This means that we want to change the brush that’s used when the button is in the normal state, and so the function we use is SetNormal().
Using the BOX_BRUSH macro, we tell Slate that we want to use Button.png, which is an image of 54 x 54 pixel size, and that we want to keep the 14 pixels in each corner unstretched for the purposes of nine-slice scaling.For a more visual explanation of the nine-slice scaling functionality, take a look at SlateBoxBrush.h in the engine source.
For the second style in our Style Set, we create a style called “NormalButtonText”. For this style, we don’t want to change everything from defaults in the style; we just want to alter one property. As a result, we access the default text style and clone it using the copy constructor.
With our fresh copy of the default style, we then change the color of the text to white, first creating a linear color of R=1 G=1 B=1 A=1, and then convert that into a Slate color object.
With our Style Set configured with our two new styles, we can then return it to the calling function, which is Initialize. Initialize stores our Style Set reference and eliminates the need for us to create further instances.
Our style container class also has a Get() function, which is used to retrieve the actual StyleSet for use in Slate. Because Initialize() has already been called at module startup, Get() simply returns the StyleSet instance that was created within that function.
Within the game module, we add the code that actually calls Initialize and Shutdown. This ensures that while our module is loaded, we will always have a valid reference to our Slate Style.
As always, we create a Game Mode as the host for our UI, and we override BeginPlay so that we can create the UI when the game starts.
The syntax for creating the UI is exactly the same as we’ve used in previous recipes – creating a VerticalBox using SNew, and then using Slate’s declarative syntax to populate the box with other widgets.
It is important to note the two following lines:
.ButtonStyle(FCookbookStyle::Get(), "NormalButtonBrush")
 .TextStyle(FCookbookStyle::Get(), "NormalButtonText")
The preceding lines are part of the declarative syntax for our button, and the text that makes its label. When we set the style for our widgets using a <Class>Style() method, we pass in two parameters.
The first parameter is our actual Style Set, which is retrieved by using FCookbookStyle::Get(), and the second is a string parameter with the name of the style that we want to use.
With these minor changes, we override the styling of the widgets to use our custom styles so that when we add the widgets to the player’s viewport, they display our customizations.
Post Link: Using Data Binding with Unreal Motion Graphics